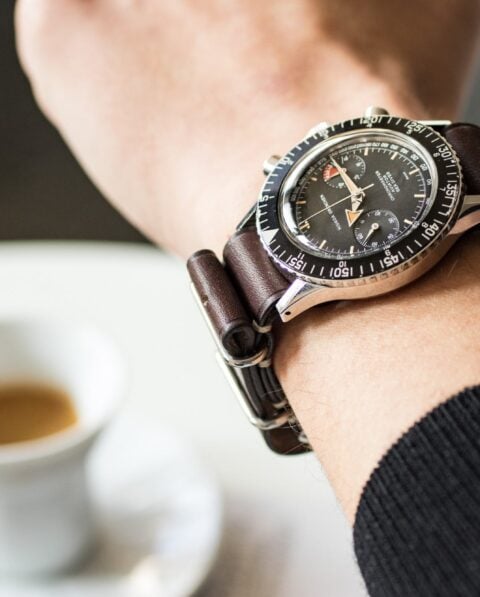
How to install & wear your NATO watch strap: The “Classic” way
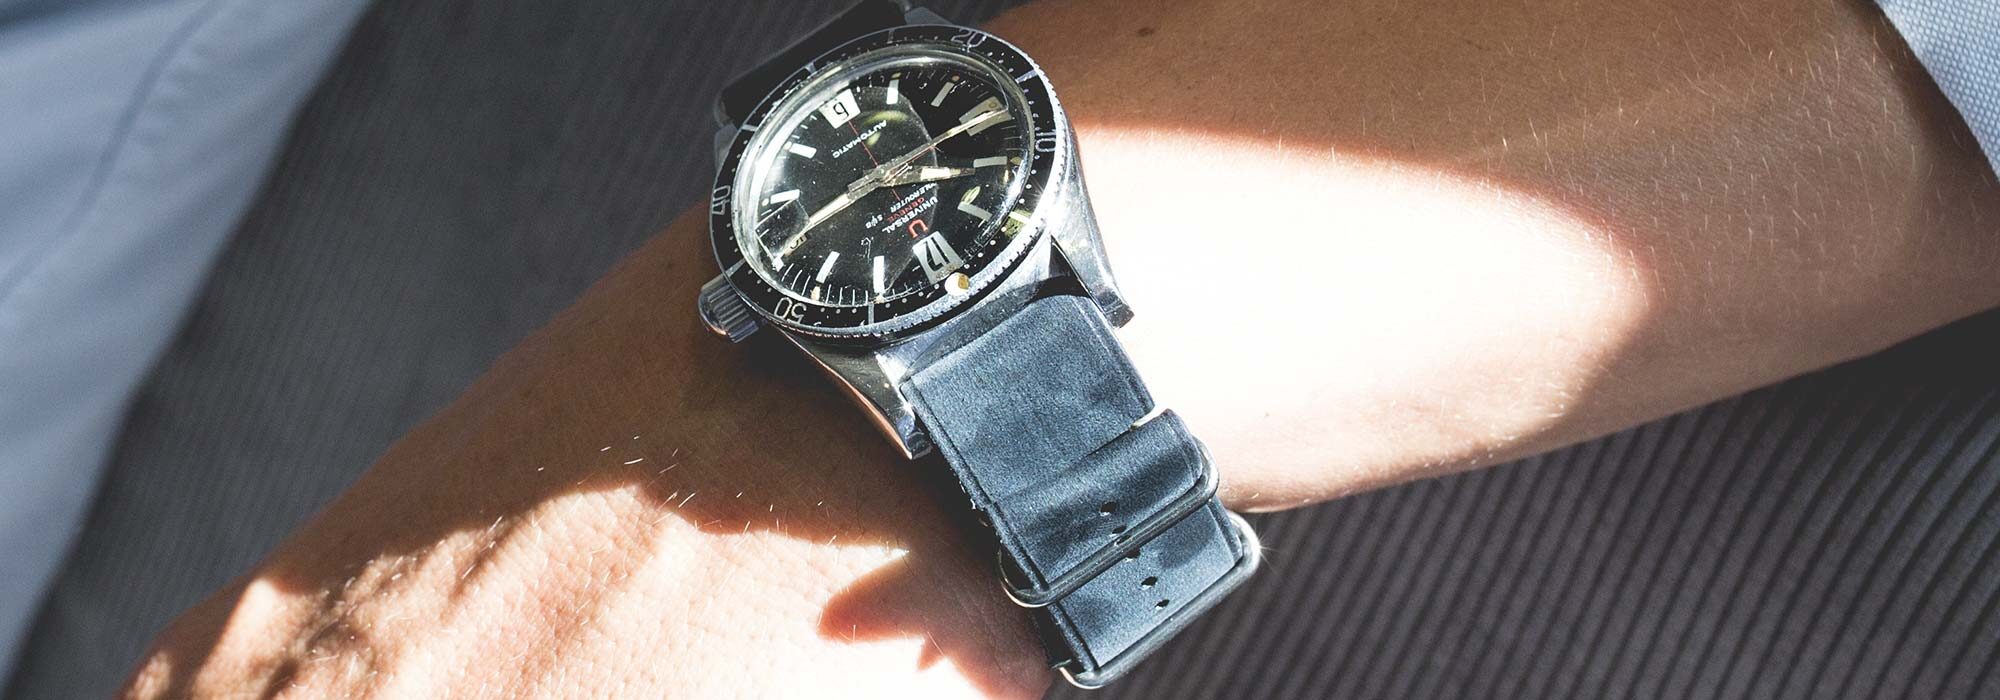
How to install & wear your NATO watch strap
Pt.1: The "Classic" way
NATO straps have been around since the 1970’s…and they’re not ready to disappear anytime soon.
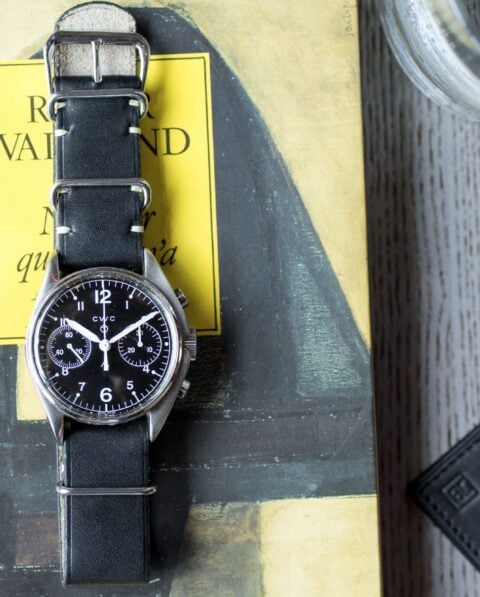
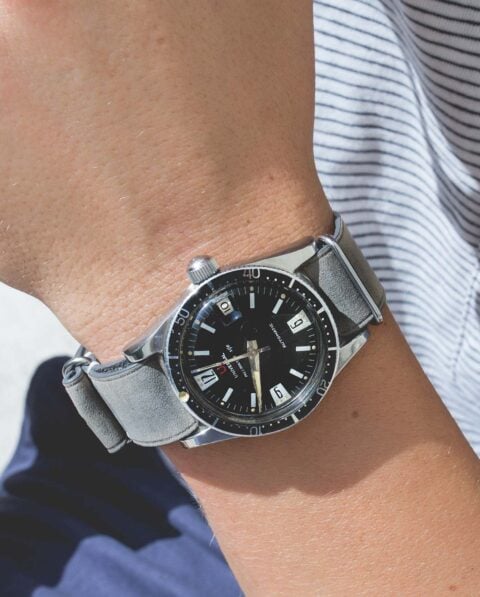
Both rugged and stylish at the same time, this is a well-designed strap, adapted to the active gentlemen of today.
It can be difficult to know how to put one on exactly. For us, there are three ways you should be wearing your NATO. Today, we’ll be revealing the most classic way.

NATO Watch Straps: A bit of history
The NATO strap was first made in nylon for the British military purposes in 1973. Not surprising given their high level of durability. With its intelligent design, the strap will remain securely fastened on the wrist even if one of your spring bars accidentally breaks.
But more than its excellent functional qualities, that still remain true today, the modern NATO strap has evolved in style, material, and finishes making it one of the most comfortable straps out there.
Useful, attractive…and lasts for a long time? What more could any of us ask for?
The Classic Way to Wear a NATO Strap
To complete this task all you need is a watch with its spring bars already installed, a NATO strap, and follow these simple steps:
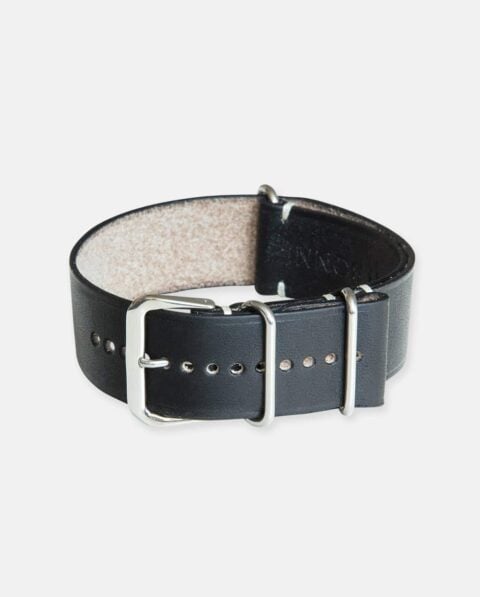
Step 1. Slide the long end of the strap downward through the upper spring bar of the watch. Then pull it upward through the spring bar on the lower part of the watch.
–
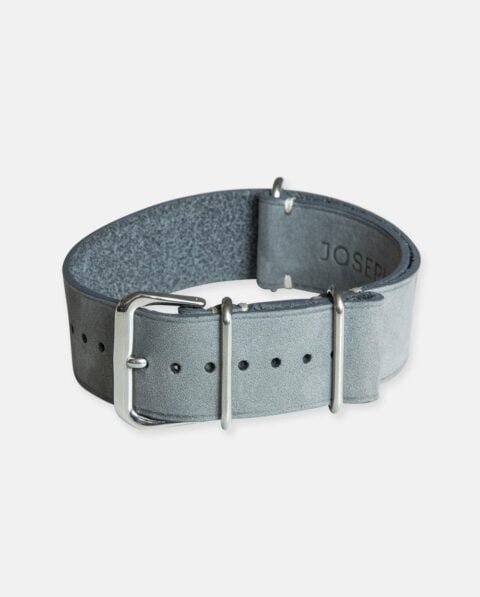
Step 2. Take the long end again and slide it through the keeper. After you fasten it completely there should be two layers underneath the watch.
–
Step 3. Fasten the strap on your wrist as you normally would any watch strap. Then slide the tail upward through the two keepers.
–
Step 4. You then have two ways to tuck the remaining “tail” of the strap: inward or outward.
Although you may see the outward tuck method on occasion, we prefer and strongly suggest you tucking the tail inward. I mean, if you see people wearing Nato straps on their ankles…it doesn’t make it right.
For those of you who need more visual details, we’ve got just the thing for you: a quick video tutorial. Just click play here below!
To see the inverted way, click here.
For the thinner way, this way.

